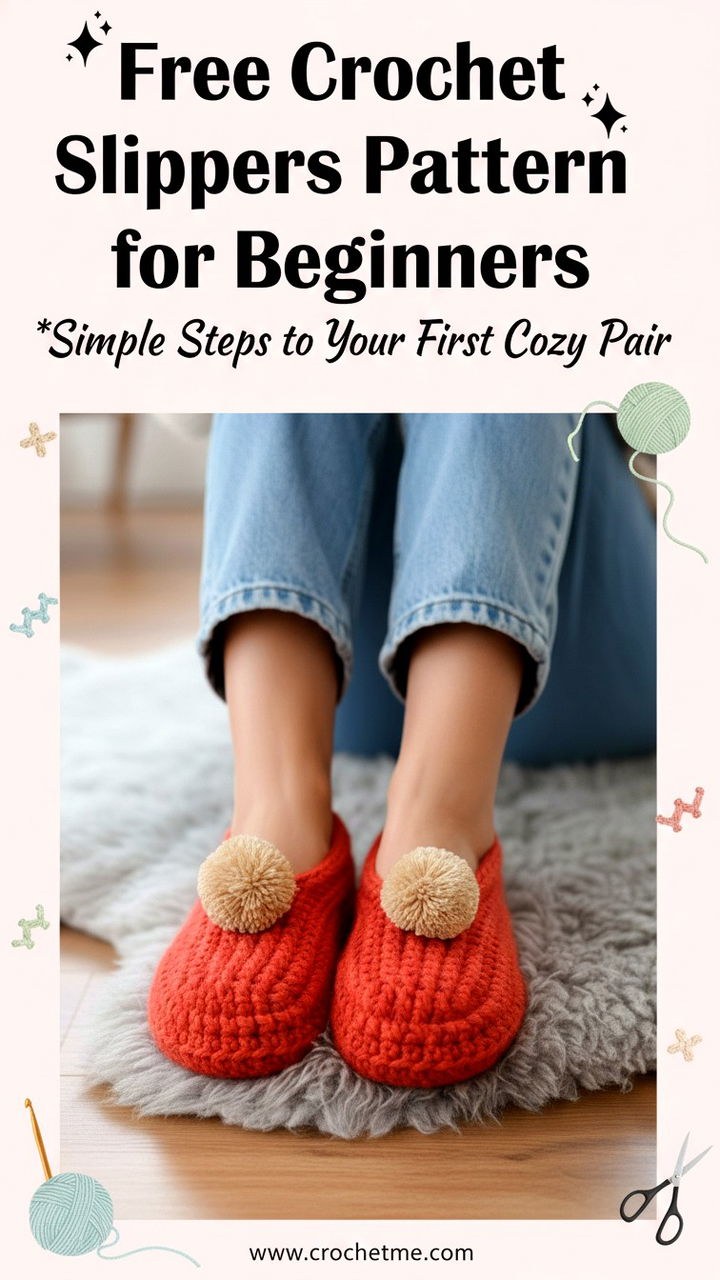
About This Pattern
This clever slipper design comes from Donna Wolfe at Naztazia. The simplicity of the pattern lies in crocheting a flat rectangle using single crochet stitches worked in the back loops only. This technique gives the fabric a ribbed texture and adds stretch, ensuring a comfortable fit for different foot shapes. The length of your starting chain determines the slipper's length (heel to toe), while the number of rows determines how the slipper wraps around the top of your foot. Once your rectangle is complete, you fold it, sew the heel seam, cinch the toe closed, and sew along the top. It's a straightforward process that makes crocheting slippers accessible for everyone. The beauty of this pattern is that you're not locked into one size. You measure the actual foot you're making the slippers for and adjust your chain length and row count accordingly. So whether you're making tiny slippers for a child or larger ones for someone with big feet, the method stays the same.
Skill Level
This pattern is perfect for beginners. If you can chain, single crochet, and work in the back loop, you have all the skills you need. The sewing and assembly part is also straightforward, making this an ideal project for someone new to crochet who wants to create something useful right away. The pattern is designed to be simple and forgiving, allowing you to focus on the joy of crafting rather than the complexity of the project.
Materials Needed
To get started, you'll need about 350 yards of worsted weight yarn (medium weight, #4). Acrylic yarn is a great choice because it's durable, machine washable, and affordable. You can also use a wool blend for extra warmth. A size G (4 mm) crochet hook is recommended, but you may need to adjust based on your gauge. Additionally, you'll need a yarn needle for sewing the seams and weaving in ends, scissors for cutting yarn, and optional stitch markers to keep track of your rows. For decoration, you can add pom-poms and puffy paint to the bottom for grip. These materials are readily available at most craft stores or online, making it easy to gather everything you need before you start.
Finished Size and Gauge
The sample size for this pattern is women's 7-9 (US), with a gauge of 16 stitches and 16 rows equaling 4 inches square in single crochet using back loops. The beauty of this pattern is its flexibility. You measure the actual foot you're making the slippers for and adjust your chain length and row count accordingly. This means you can create slippers for any foot size, from small children to adults, by simply adjusting the measurements. This flexibility makes the pattern versatile and suitable for a wide range of projects, whether you're making slippers for yourself, your family, or as gifts.
How to Customize the Size
Getting the right fit is easy with this pattern. To determine the length, measure the foot from heel to toe and chain enough stitches to match that length, plus about two extra chains for toe room. For the width, the number of rows determines how the slipper wraps around the top of the foot. As you approach row 20, wrap the crocheted piece around the foot to check the fit. Continue adding rows until the rectangle is wide enough to comfortably cover the instep when folded and sewn. It's helpful to end with an odd number of rows for a more even fit. This method ensures that your slippers will fit comfortably and look great, regardless of the foot size.
Tips for Making Great Slippers
To ensure your slippers turn out well, keep your tension consistent, especially when working in back loops. Use stitch markers to count rows and try the slippers on as you go to check the fit. Leave long tails for sewing to ensure secure seams. When sewing, make sure the seams are firm but not too tight to maintain comfort. Adding puffy paint dots to the bottom of the slippers can provide grip on hard floors, making them safer to wear. These tips will help you create slippers that are not only comfortable but also durable and stylish.
Ideas for Customization
Once you've mastered the basic technique, there are plenty of ways to personalize your slippers. Play with different colors, create stripes, or use variegated yarn for a unique look. Add embellishments like pom-poms, buttons, crochet flowers, or appliqués. Experiment with different yarn weights for thicker, cozier slippers. These slippers also make great gifts and can be paired with other handmade items like cozy socks or candles. You can even create a matching set by crocheting a headband or fingerless gloves in the same yarn. The possibilities for customization are endless, allowing you to create slippers that reflect your personal style and preferences.
Why This Pattern Works So Well
Many crochet slipper patterns require working in the round or dealing with complex shaping, which can be intimidating. This rectangle method simplifies the process by using basic crochet stitches worked in the back loops. The clever assembly transforms the rectangle into a comfortable slipper with a cinched toe and sewn heel. The pattern is forgiving, allowing you to adjust the chain length or row count to fit any foot size. This makes it a perfect project for beginners and a quick, satisfying craft for experienced crocheters. The simplicity and versatility of this pattern make it a favorite among crafters looking for a straightforward and rewarding project.
Final Thoughts
If you've been putting off making crochet slippers because they seemed too complicated, give this pattern a try. The rectangle construction takes all the guesswork out of shaping, and the back loop technique gives you a stretchy, textured fabric that's comfortable to wear. These slippers come together quickly, fit any size foot, and make wonderful gifts. Add a pom-pom on top and some puffy paint dots on the bottom, and you've got a pair of handmade slippers that look great and actually stay put on slippery floors. Head over to Naztazia to watch the full video tutorial and get started on your own pair. Once you make one set, you'll probably want to make more. Happy crocheting!